This post may contain affiliate links. That means if you click on a link and make a purchase, I may make a small commission at no additional cost to you. Thank you for your support!

Originally posted in 2017, updated November 2023.
What is clotted cream?
Clotted cream is one of those foods that holds a special place in my heart. It is a legendary dairy product that is cherished by many, and just the mention of it instantly transports me back to that perfect day in England where I first had a taste of the real thing. Like any food lover, I became obsessed with recreating it at home.
Clotted cream is a rich and indulgent dairy product, originating in England, which is often enjoyed with scones and jam during afternoon tea or cream tea. It has a thick and velvety texture that is similar to custard or butter, and a naturally nutty, slightly sweet flavor. The process of making clotted cream involves slowly heating heavy cream and then allowing it to cool. As the milk cools, a thick layer forms on the top, which is then skimmed off, creating clotted cream.
Living in the US, clotted cream is not widely known or available, at least in my area. I had only been lucky enough to sample a spoonful from an expensive jar that I found on a specialty food shelf during the holidays. It was good, but it didn’t quite live up to the hype. How could it, really? It had been preserved, packaged, and shipped halfway around the world, sitting on a shelf for weeks. This was not the stuff of legends.
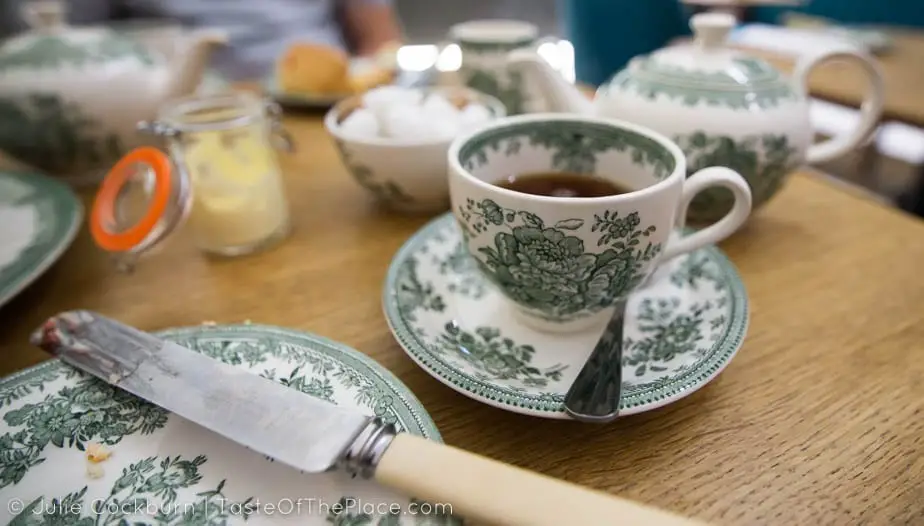
But then, I had the opportunity to visit England. It was a magical afternoon tea at the British Museum in London, and there it was, a tiny glass jar of creamy-looking goodness next to a jar of jam. I could barely contain my excitement as I slathered a spoonful of the wonderfully gooey cream on a freshly baked scone and took a bite. Cue the heavenly music! This was it! This was the clotted cream of legend!
The clotted cream I had in England was everything I had imagined and more. It was creamy, thick, and luxurious, with a hint of natural sweetness and a slightly nutty flavor. It was like the perfect, beautiful child of freshly whipped cream and grass-fed butter. I savored every bite, knowing that I had found something truly special.
Unfortunately, I was too caught up in the moment to take a picture of my scone with clotted cream at the British Museum. All that remains is a small bit of clotted cream in the background, which I devoured with gusto. But the memory of that perfect bite will stay with me forever.
Since that day, I have been on a mission to recreate that same clotted cream experience at home. I have researched recipes, experimented with different creams, and invested in the necessary equipment. While my homemade clotted cream may not be exactly the same as the one I had in England, it still brings me joy and allows me to relive that magical moment.
Clotted cream is truly a food worth seeking out and savoring. Its rich history and association with British culinary traditions make it a must-try for any food lover. Whether enjoyed with scones and jam during afternoon tea or used in other delicious recipes, clotted cream is a true indulgence that will leave you wanting more.
Researching the recipe
After my unforgettable experience with clotted cream in England, I was determined to recreate it in my own kitchen. So, I embarked on a journey of research to find the perfect clotted cream recipe.
I started by exploring the popular oven method that I found all over the internet. While it produced decent results, I found that it left a hard, chunky crust on top, which didn’t quite match the creamy texture I was looking for.
Next, I tried the stovetop method, which involved skimming the top layer of clotted cream off the liquid periodically for several hours. Although this method yielded good results, I found that it was time-consuming and inconsistent. Standing at the stove all day long wasn’t exactly my idea of fun.
In my quest for the perfect clotted cream recipe, I stumbled upon an old article published in the Journal of Dairy Science from 1917 to 1918. Written by Wilfrid Sadler, a dairy and bacteriological expert, the article provided a comprehensive exploration of traditional clotted cream production methods.
Mr. Sadler’s research included scientific testing of different preparation methods, with detailed explanations for each. While his methods were not entirely applicable to modern dairy production, his insights were invaluable in helping me adapt the recipe to work with modern ingredients and equipment.
Unfortunately, Mr. Sadler’s efforts to popularize clotted cream production in Canada and the US were unsuccessful. However, his article provided me with the necessary knowledge to create clotted cream in my own kitchen. I am forever grateful to Mr. Wilfrid Sadler for his thorough research and dedication to the art of clotted cream.
If you’re as much of a food nerd as I am, I suggest reading Mr. Sadler’s article. It offers a fascinating glimpse into the history and science of clotted cream production. You can find a copy of the article online HERE at the Journal of Dairy Science.
With my newfound knowledge and inspiration from Mr. Sadler’s research, I was ready to embark on my clotted cream-making journey. Armed with a modified recipe that would work with modern dairy products and my trusty kitchen equipment, I was confident that I could recreate the magic of clotted cream in my own home.
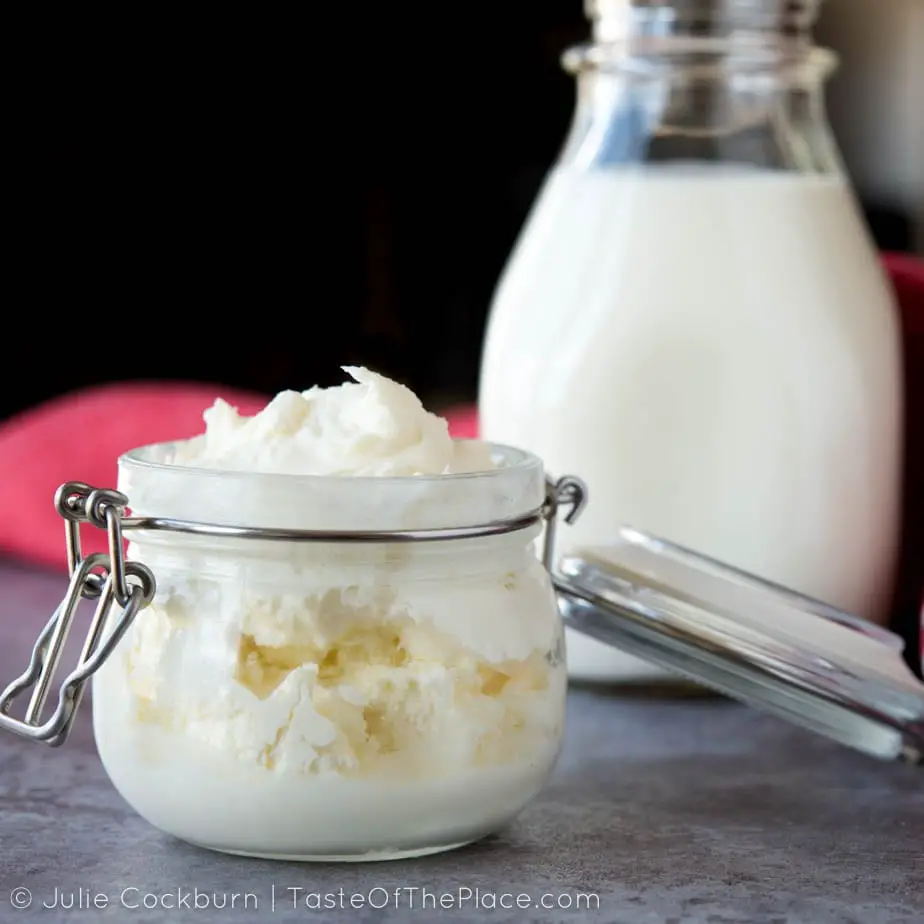
What to expect with homemade clotted cream
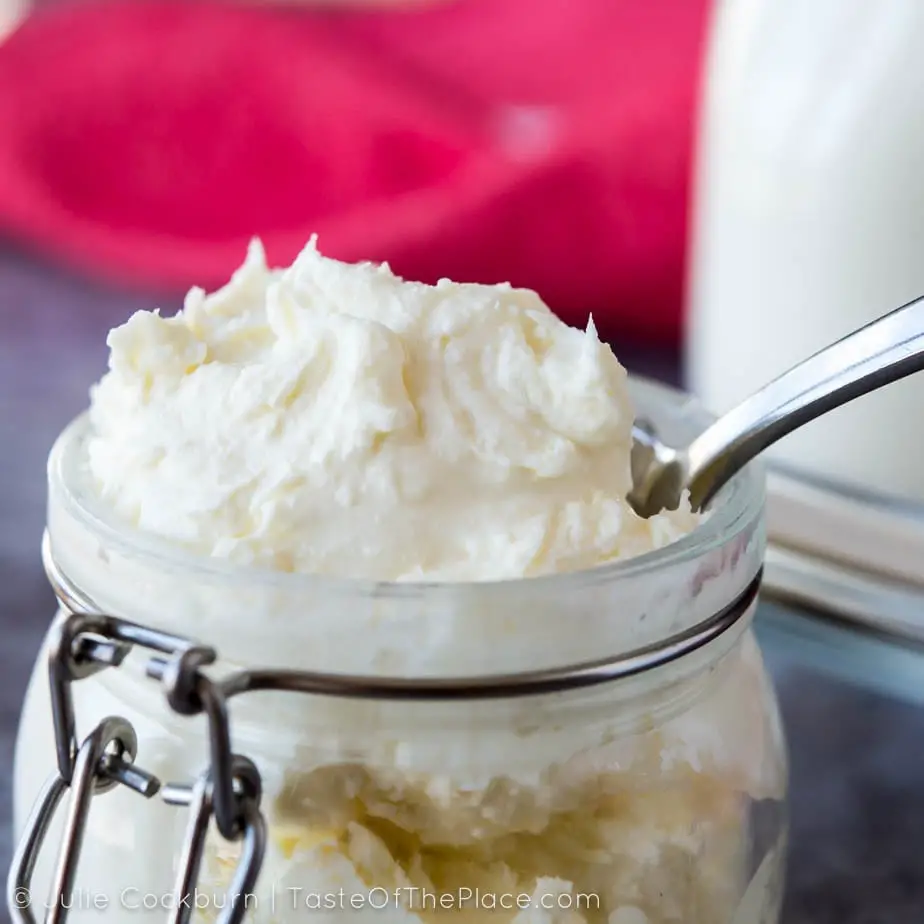
My version of clotted cream is thick, spreadable, and deliciously gooey – just like that tiny little heavenly jar I savored at the British Museum; it has a hint of that wonderfully crinkly, craggly skin that many people look for in authentic clotted cream; and the color is a lovely white, with just the tiniest hint of pale yellow.
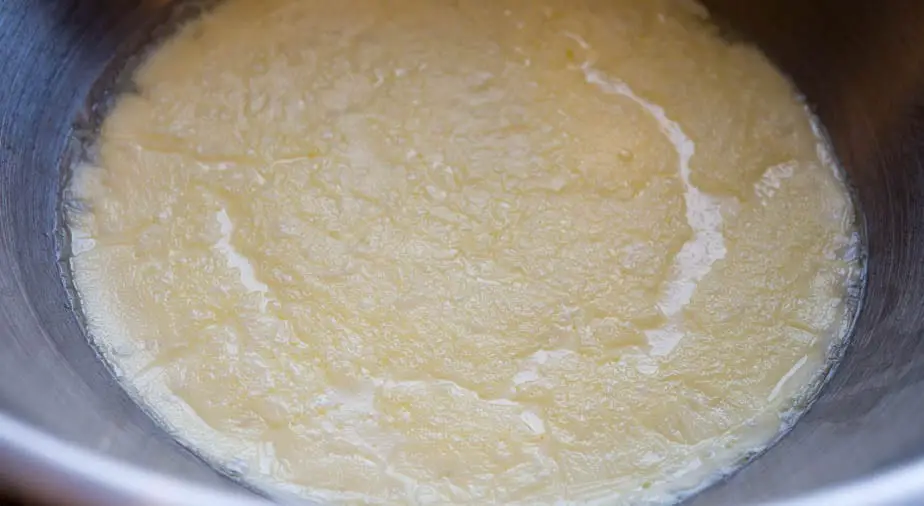
During the heating process, you can expect it to develop a wrinkly, pale yellow skin. Not very pretty, but exactly what you want. At this point, everything will still be very thin and liquidy, making you think the clotted cream has failed to form. But don’t worry! All is well – the clotted cream will form after a night’s rest in the fridge.
With this recipe, you’ll be able to recreate the magic of clotted cream in your own kitchen. So, let’s dive in and discover the secrets to making this delectable treat that will elevate your afternoon tea or cream tea experience to new heights.
Choosing the correct cream
When it comes to making clotted cream, the most important ingredient is the cream itself. The quality of the cream will determine the outcome of your clotted cream. It is crucial to choose the right heavy cream to ensure success in your clotted cream-making endeavors.
For those fortunate enough to have access to unpasteurized, raw heavy cream or own a dairy cow, you’re in luck! This type of cream is perfect for making clotted cream. However, if you’re like me and don’t have these options, there are still suitable alternatives.
Look for heavy cream, sometimes referred to as heavy whipping cream, with a minimum of 35% butterfat (milk fat). It’s important to avoid ultra-pasteurized cream and opt for pasteurized or unpasteurized cream instead. Cream with stabilizers should also be avoided, as they can interfere with the clotted cream-making process.
Unfortunately, many organic brands of heavy cream may not be suitable for making clotted cream due to their ultra-pasteurization and use of stabilizers. However, there are some good options available. I’ve found the Trader Joe’s brand Heavy Whipping Cream (specifically the pasteurized version, not ultra-pasteurized) and the Straus Family Creamery Organic Whipping Cream are excellent choices. If you happen to reside in Central Oregon, Eberhard’s Dairy Heavy Whipping Cream is also a perfect option.
By choosing the correct cream, you set yourself up for clotted cream success. So be sure to select a high-quality, suitable heavy cream to achieve the best results in your clotted cream-making endeavors.
Worth noting: I have found that occasionally my clotted cream turns out kind of dry and waxy, even with good quality heavy cream – still tasty, but not the best texture. I believe it either has to do with the brand of cream or possibly seasonal variations in cream production. If you run into the same issue, simply stir a spoonful or two of the leftover thin liquid into the clotted cream. After a few hours, it should incorporate nicely, smoothing and loosening the texture of the clotted cream.
Equipment needed to make clotted cream
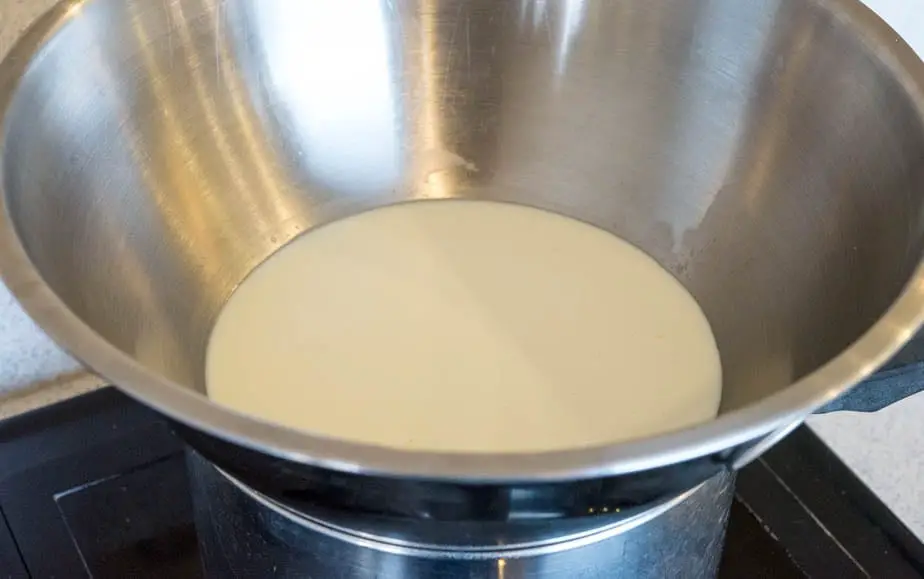
To make clotted cream, there are a few essential pieces of equipment that you will need. First and foremost, you will need a double boiler. If you don’t have a dedicated double boiler, you can easily create one by placing a mixing bowl on top of a saucepan filled with some water. This makeshift double boiler is my preferred method and will work just as well. The key is to ensure that the bowl you use is wide enough to provide ample surface area for the heavy cream to heat evenly.
Another important tool you will need is a thermometer. I find that a probe thermometer works best for making clotted cream. Unlike candy thermometers that require at least 2 inches of liquid to function properly, a probe thermometer can accurately read the temperature from just the tip. I recently invested in a fancy-schmancy probe thermometer that even alerts me when the heavy cream reaches the perfect temperature. However, keep in mind that you may need to get a little creative and use a metal, clamp-style paper clip to attach the thermometer to the side of your bowl if it doesn’t have a built-in clip.
With a double boiler and a reliable thermometer, you will be well-equipped to make clotted cream at home. These tools will ensure that you can heat the cream evenly and monitor the temperature accurately, resulting in a successful batch of delicious clotted cream.

Homemade clotted cream recipe
Print
Clotted Cream
- Total Time: 10 hours 30 minutes
- Yield: about 6 ounces clotted cream 1x
- Diet: Vegetarian
Description
Creamy, thick, luxurious, kissed with a hint of natural sweetness, and fresh with a slightly nutty flavor, clotted cream is what you might imagine to be the perfect, beautiful child of freshly whipped cream and grass fed butter.
Ingredients
- 16 ounces (1 pint) heavy cream – SEE NOTES!
- That’s it!
Instructions
- In the base of a double boiler or medium saucepan, bring an inch or two of water to a simmer. Adjust the heat so the water is at the barest simmer. Place the top of the double boiler or a wide glass or metal bowl on top, ensuring the bowl isn’t touching the simmering water. Gently pour the heavy cream into the bowl, and position a probe thermometer into the cream, avoiding touching the bottom of the bowl with the thermometer.
- DO NOT stir the cream at all, ever, even once during this process.
- Gently heat the cream, uncovered, without stirring, to exactly 187°F. It will generally take between 30 minutes to an hour to reach 187°F. At this point, the cream will have a slightly wrinkly, yellowish skin on top. It will also look thin and liquid-y, and you’ll think that your clotted cream has failed to form. Don’t worry, it will thicken after refrigeration.
- Carefully monitoring the temperature, hold the cream between 180°F and 199°F for 30 minutes, ensuring the cream never comes to a boil.
- After 30 minutes, carefully, so as to not burn yourself, remove the bowl with the cream from the saucepan. Avoid pouring, jostling, or swirling the cream. Allow it to come to room temperature, then place in the refrigerator, uncovered, for 8 hours. You didn’t stir it, right?
- After about 8 hours, a thick layer of yumminess will have formed on top of a thin liquid. That thick layer is your clotted cream. Did I mention that you shouldn’t stir it? You can scoop the deliciousness off with a slotted spoon, leaving the liquid behind, or pull back a corner of the thickened cream and pour the liquid into another container, leaving the clotted cream behind. Don’t throw out the liquid-y bits. Stir it into coffee or tea, and use for baking. Extra bonus if you use it for baking scones!
- Optional – if you feel your clotted cream is too thick, too dry, or too craggly, gently stir a tiny bit of the leftover liquid back into the cream. This will loosen and smooth out the texture. (See notes)
- Transfer the clotted cream to a glass jar, and store in the fridge until ready to use. It will generally last for a few days – that is if you don’t eat it all by then!
Recommended Equipment and Goodies
 Buy Now →
 Notes
Do NOT use ULTRA-pasteurized heavy cream or heavy cream with gums, stabilizers, or thickeners (such as gellan gum or carrageenan) in the ingredient list. Use only pasteurized or non-pasteurized heavy cream or heavy whipping cream, with at least 35% butterfat, and no additives.
To make the clotted cream, you will need a probe thermometer, plus a double boiler or a medium to large metal or glass mixing bowl set on top of a medium saucepan. Just be sure to use a wide enough bowl that your heavy cream has a lot of surface area while heating.
DO NOT stir the cream at all, ever, even once during the cooking and cooling process. A few gentle sloshes here and there, while you move the container, are OK, but stirring or swirling to incorporate the cream is not.
You should expect to get a little less than half the volume of clotted cream than the volume of heavy cream you started with. So if you start with 16 ounces of heavy cream, expect about 6 ounces of clotted cream.
I have found that occasionally my clotted cream turns out on the dry and waxy side, even with good quality heavy cream – still tasty, but not the best texture. I believe it either has to do with the brand of cream or possibly seasonal variations in cream production. If you run into the same issue, simply stir a spoonful or two of the leftover liquid into the clotted cream. It should incorporate nicely, smoothing and loosening the texture of the clotted cream.
- Inactive Time: 9 hours
- Cook Time: 1 hour 30 minutes
- Category: Dessert
- Cuisine: British
Related recipes

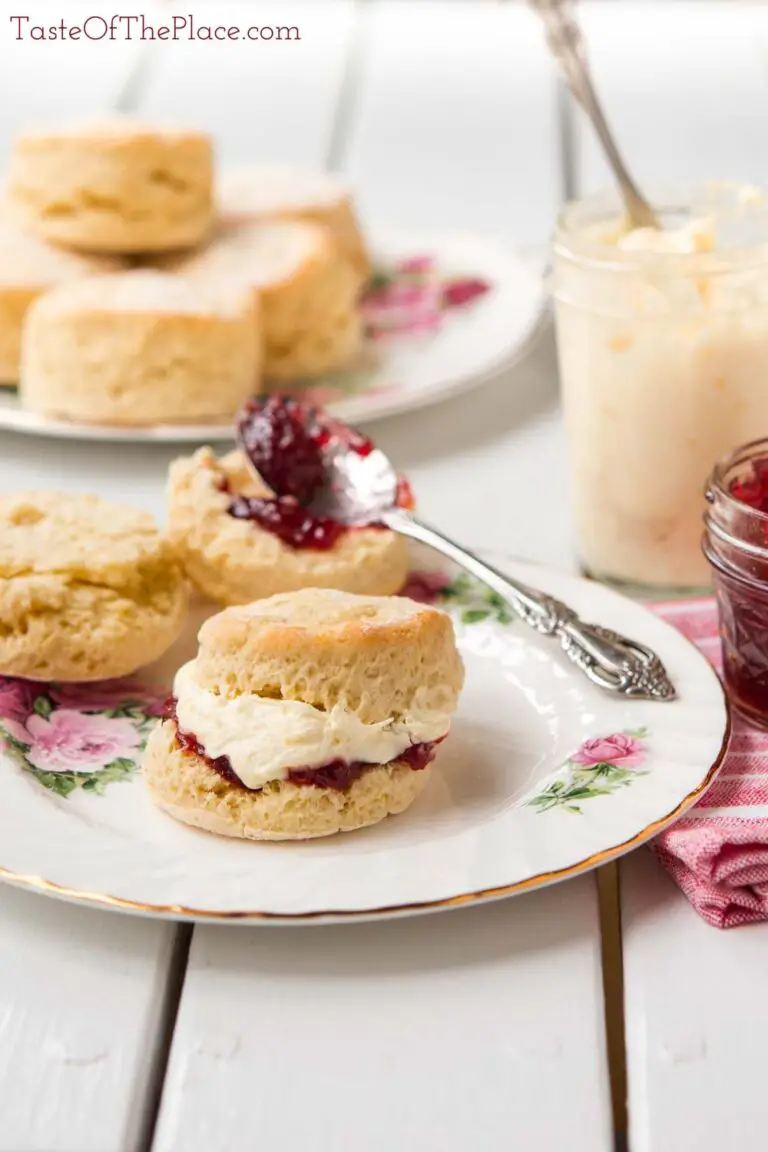
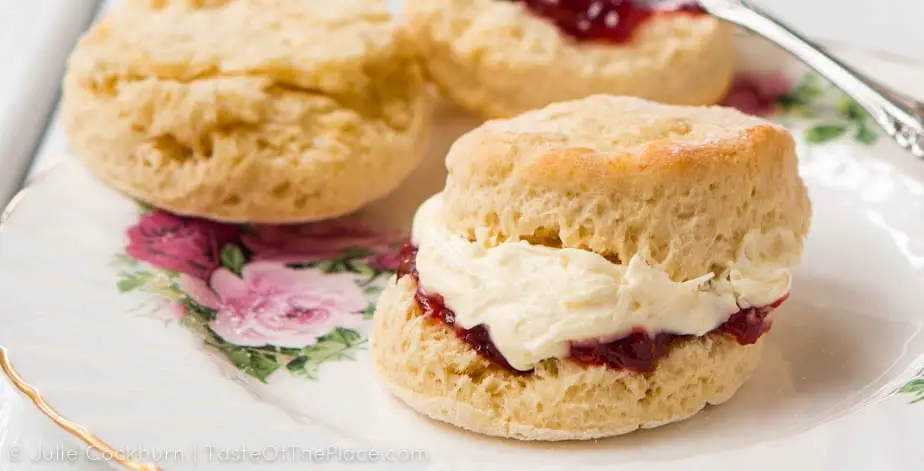
Fresh British scones for a cream tea
Light and fluffy, with just a hint of sweetness, fresh British scones are perfect for slathering with clotted cream and strawberry jam.
How to Put Together a British-Style Cream Tea
Cream tea is simply tea served with scones, jam, and clotted cream. It is a quintessentially British tradition and is a delightful and indulgent treat that is perfect for any occasion. Read on to learn more about it and how to make it!
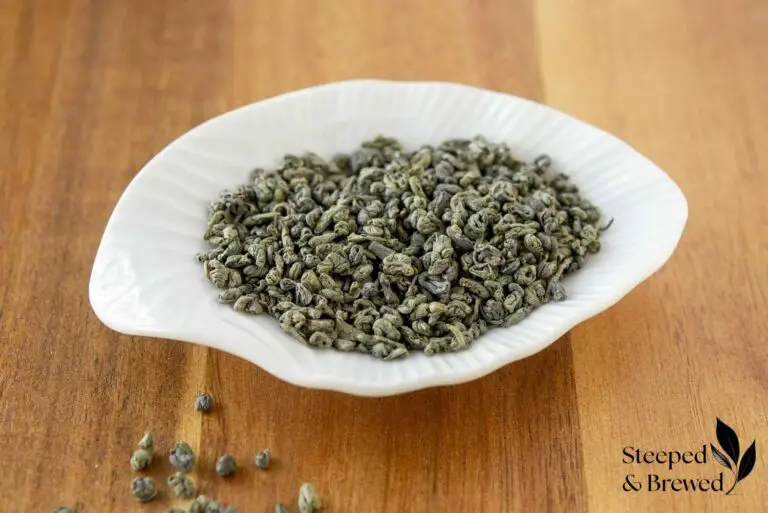
Beginner’s Guide To Brewing Loose Leaf Tea
What do you say we get to brewing some tea? In this guide, we’ll explore the ins and outs of Western-style tea brewing – a style that’s both approachable for beginners and offers plenty of breadth for the most discerning tea enthusiasts.
Frequently asked questions…
How do you store clotted cream?
To ensure the freshness and quality of clotted cream, it is important to store it properly. After making clotted cream, it should be transferred to an airtight container and refrigerated immediately. Clotted cream should be consumed within a week of making.
What is clotted cream used for
Clotted cream is a versatile and delicious treat that can be used in various ways. One of the most popular ways to enjoy clotted cream is by spreading it on scones. The rich and creamy texture of clotted cream pairs perfectly with the crumbly and slightly sweet scones. It adds a touch of luxury to any afternoon tea or cream tea experience.
Apart from scones, clotted cream can also be used as a topping for desserts like pies, tarts, and cakes. Its rich and creamy consistency adds a lusciousness to these sweet treats, making them even more indulgent.
Is clotted cream sweet?
Clotted cream, while unsweetened, is known for its naturally sweet and slightly nutty flavor. This natural sweetness pairs perfectly with scones and other desserts. So, if you’re looking for an indulgent treat that isn’t overly sweet, clotted cream is the perfect choice.
What is the difference between Devonshire cream and clotted cream?
Devonshire cream, also known as Devon cream, is clotted cream that originates from Devon County in England. It is similar to Cornish clotted cream, which comes from Cornwall, but there may be slight differences in taste and texture due to variations in the landscape, feed, climate, cattle, and production methods of the two regions. While locals and clotted cream enthusiasts may be able to distinguish between the two, for most people, Devonshire cream, Cornish clotted cream, and generic clotted cream are essentially the same thing.
Interesting tidbit – Cornish clotted cream has received designated protection status under European and UK law, meaning clotted cream can only be called Cornish clotted cream if it comes from Cornwall and meets certain specifications.
Is clotted cream illegal in the US?
Some people claim that clotted cream is illegal in the US, but this is not entirely accurate. While it is true that traditional clotted cream made in the UK does not meet the FDA’s standards for pasteurization, there are variations of clotted cream available in the US that comply with the regulations.
If you’re in the US and want to enjoy clotted cream, you can find it at specialty grocery stores, online retailers, or even better, make your own. While it may not be the exact same as the traditional British clotted cream, it still offers a rich and creamy texture that is perfect for spreading on scones or adding to desserts.
So, while the traditional method of making clotted cream may not be commercially allowed in the US, there are alternatives available that allow Americans to enjoy this delicious treat.
What can I substitute for clotted cream?
Clotted cream is a delicious and creamy treat that is often enjoyed with scones and desserts. However, if you’re unable to find clotted cream or simply want to try something different, there are a few substitutes that you can use.
One popular substitute for clotted cream is unsweetened, homemade whipped cream. The texture of whipped cream is lighter, but the flavor is similar. You can easily make your own whipped cream by whipping heavy cream until it forms soft peaks.
Another substitute for clotted cream is mascarpone cheese. Mascarpone is a rich and creamy Italian cheese that has a slightly sweet flavor. It can be used as a spread or topping for scones and desserts, providing a similar richness to clotted cream.
If you’re looking for a dairy-free option, coconut cream can be a great substitute for clotted cream. Simply refrigerate a can of full-fat coconut milk overnight, then scoop out the thick cream that has separated from the liquid. While the flavor of this coconut cream is significantly different than clotted cream, it has a similar texture and richness, making it a fine alternative for those with dietary restrictions.
So if you’re unable to find clotted cream, don’t feel like making your own, or want to try something different, whipped cream, mascarpone cheese, and coconut cream are all fine substitutes. Each of these options provides a creamy texture and can be enjoyed with scones and desserts.
Can clotted cream be frozen?
Yes, clotted cream can be frozen. I have found that the consistency of the frozen-then-thawed clotted cream is a bit thicker than fresh, but it still works well for spreading on scones. However, I recommend using the frozen clotted cream within a few weeks because it can develop ice crystals and easily absorb other flavors from the freezer.


Leave a Reply